k3s on a Raspberry Pi 4 at home, Part 6
by Darkstar
The internet is a very volatile thing. Websites we visited a few years ago are often long gone by now. This can happen quicker than one would think. Sure, there is the Internet Archive with its Wayback Machine, but sometimes even that doesn’t help with some of the more obscure websites that we might have visited. Wouldn’t it be cool to have some sort of personal archive where we can download and store websites that we might find interesting, to be able to read them in 1, 5, 10 years from now?
This is what we will build today, in part 6 of our small series, by using the awesome ArchiveBox project.
- Scenario 4: ArchiveBox
- Configuring an admin user
- Happy archiving
- Adding full-text search to ArchiveBox
Scenario 4: ArchiveBox
ArchiveBox is a web service, so deploying it is pretty straightforward, although some things are a bit special during the installation.
In our case, we want the ArchiveBox web service to be available on https://archive.dark.star.
I won’t go into details on how to configure a new sub-domain for ArchiveBox, as we have gone over these steps in previous parts more than enough. As a small reminder, you need to create a secret and a cronjob, and register the archive.dark.star domain with your DNS provider as Dynamic DNS.
First we need a new namespace, let’s call it archive. So we have the following YAML which we save as archive-namespace.yaml:
apiVersion: v1
kind: Namespace
metadata:
  name: archive
Apply this to the cluster:
pi@raspberrypi:~ $ kubectl apply -f archive-namespace.yaml
namespace/archive created
We also need a data directory where ArchiveBox stores all its data and our archived websites, so let’s create one on our USB stick. We will also need to change ownership on this directory to UID 999, this will be explained in a bit (you could also just chmod o+w the directory but that’s not as clean a solution as changing the UID):
pi@raspberrypi:~ $ sudo mkdir -p /k8s-data/archive.dark.star/data
pi@raspberrypi:~ $ sudo chown -R 999 /k8s-data/archive.dark.star
The Deployment looks very similar to our earlier deployments. Here is the corresponding file archive-deployment.yaml:
apiVersion: apps/v1
kind: Deployment
metadata:
  name: archive
  namespace: archive
  labels:
    app: archivebox
spec:
  selector:
    matchLabels:
      app: archivebox
  strategy:
    type: Recreate
  template:
    metadata:
      labels:
        app: archivebox
    spec:
      securityContext:
        runAsNonRoot: true
        runAsUser: 999
      containers:
      - image: archivebox/archivebox:master
        name: archivebox
        env:
        - name: ALLOWED_HOSTS
          value: "*"
        - name: MEDIA_MAX_SIZE
          value: "1024m"
        command: ['archivebox']
        args: ['server', '--quick-init', '0.0.0.0:8000']
        ports:
        - containerPort: 8000
          name: archivebox
        volumeMounts:
        - name: archive-data
          mountPath: /data
      volumes:
      - name: archive-data
        hostPath:
          path: /k8s-data/archive.dark.star/data
          type: Directory
We see some things of note in this deployment:
- First, we use a
securityContextwhere we disallow running as root, and specify the user ID to run ArchiveBox as 999. This is because ArchiveBox refuses to start when run as root for security reasons. Since the container already has anarchiveboxuser created, and that user has UID 999, we simply use that. Note that you cannot use an arbitrary number here, ArchiveBox actually checks that the user exists in the/etc/passwdfile in the container - The container image uses the tag
master, which, at the time of this writing, is 9 months old. The taglatestis even older, and additionally doesn’t even provide arm64 binaries. If you want to stay a bit more up-to-date, there are tags in the form ofsha-<xxxxxxx>and you can use these if you want. You can see the available tags here. - We specify two environment variables,
ALLOWED_HOSTSandMEDIA_MAX_SIZE, the latter of which limits the size of the downloads a bit. If you want to download large images or videos, you might need to increase this value. - We actually have to specify the command which k8s should run inside the container. This is because the container is normally intended to be a substitute for locally installing the
archiveboxcommand line utility, and running a web server is actually only one of many functions of this command line tool, which we will see later on.
We can also add a matching service definition as well, here is the file archive-service.yaml:
apiVersion: v1
kind: Service
metadata:
  namespace: archive
  name: archive-service
spec:
  selector:
    app: archivebox
  ports:
    - protocol: TCP
      port: 8000
And here is the ingress, with Let’s Encrypt production certificate (archive-ingress.yaml):
apiVersion: networking.k8s.io/v1
kind: Ingress
metadata:
  name: archive-ingress
  namespace: archive
  annotations:
    kubernetes.io/ingress.class: "traefik"
    cert-manager.io/cluster-issuer: letsencrypt-prod
spec:
  rules:
  - host: archive.dark.star
    http:
      paths:
      - path: /
        pathType: Prefix
        backend:
          service:
            name: archive-service
            port:
              number: 8000
  tls:
  - hosts:
    - archive.dark.star
    secretName: archive-dark-star-tls
Let’s apply these to the cluster:
pi@raspberrypi:~ $ kubectl apply -f archive-deployment.yaml
deployment/archive created
pi@raspberrypi:~ $ kubectl apply -f archive-service.yaml
service/archive-service created
pi@raspberrypi:~ $ kubectl apply -f archive-ingress.yaml
ingress.networking.k8s.io/archive-ingress created
It will take some time for the pods to come up, as the image is rather large (400+ MiB), so be patient (or repeatedly check kubectl describe pod -n archive…)
If the pod still fails to come up (CrashLoopBackOff), check its logs for some hints on what went wrong.
pi@raspberrypi:~ $ kubectl get pods -n archive
NAME                       READY   STATUS    RESTARTS   AGE
archive-68fc697c66-bft5x   1/1     Running   3          88m
pi@raspberrypi:~ $ kubectl logs -n archive archive-68fc697c66-bft5x
The usual suspects are: running as root, no write permission to /data (or rather to /k8s-data/archive.dark.star/data), or invalid user ID in the deployment.
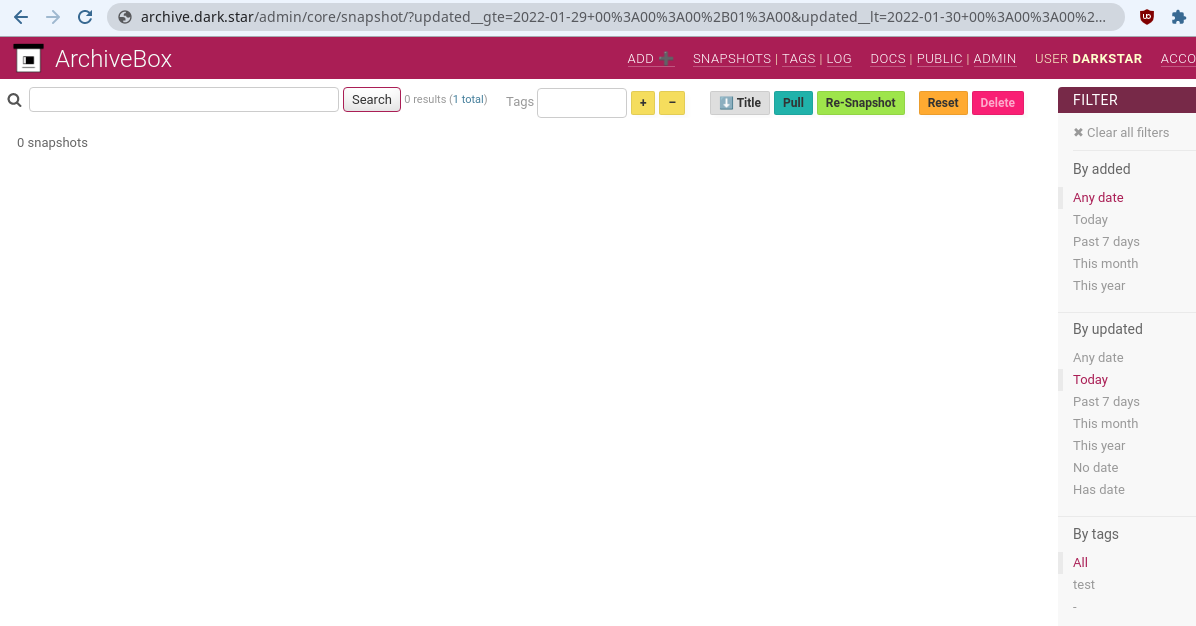
Now you should already be able to access the web UI by browsing to https://archive.dark.star. It should look something like this
Configuring an admin user
By default, ArchiveBox comes with no users configured, which means everyone can read and access your archived websites, as long as they know the URL to the service. But to actually submit links for preserving, or to manage/delete them, you need an administrative user.
According to the documentation, to create an administrator account, we need to run the archivebox manager createadmin command. But we don’t have the archivebox binary on our system, it is only available inside the container. So what do we do?
Of course we can use kubectl exec! First we find the name of our pod:
pi@raspberrypi:~ $ kubectl get pods -n archive
NAME                       READY   STATUS    RESTARTS   AGE
archive-68fc697c66-bft5x   1/1     Running   3          13h
Now we run the command inside that container:
pi@raspberrypi:~ $ kubectl -n archive exec -it archive-68fc697c66-bft5x -- archivebox manage createsuperuser
[i] [2022-01-29 11:30:26] ArchiveBox v0.6.2: archivebox manage createsuperuser
    > /data

Username (leave blank to use 'archivebox'): admin
Email address: admin@somewhere.com
Password:
Password (again):
Superuser created successfully.
After that, we can use this account to log into the web frontend.
Happy archiving
Now you can use your ArchiveBox. Enter URLs in the text input on the website, or use one of the many Browser plugins / Bookmarklets to let you archive the page you’re vieweing with the click of a button!
Do read the documentation though, as it contains some important information regarding security:
- JavaScript is running in the background when you download a page
- by default the web frontend is not protected so anyone can view everything you archived, although they cannot modify/delete anything or submit new sites for archiving.
- All links you submit will also be submitted to archive.org’s WaybackMachine, if you don’t want that, you have to disable it
Another note, the single-file download is currently broken on arm64, which will give you an error on every ingest. Don’t worry, all data is still saved, all other access methods work, and you can always later create the single-file variant when the bug is fixed.
Adding full-text search to ArchiveBox
Something that we might want to do is adding full-text search indexing to the archive, so that it will be easier to find what you’re looking for later. This is actually possible with the Sonic search engine, which integrates nicely into ArchiveBox. However, that is (until now) only available for x86-64 and not for ARMv8. I will update this post (or add a follow-up) when things change there.
tags: raspberrypi - k3s